Logo to embroidery file, step by step
An embroidery file is a list of machine instructions, not a picture. Start from a clean logo, turn its shapes into stitch areas, choose a stitch type for each, plan the sewing order and set the size, then check the preview and test-sew.

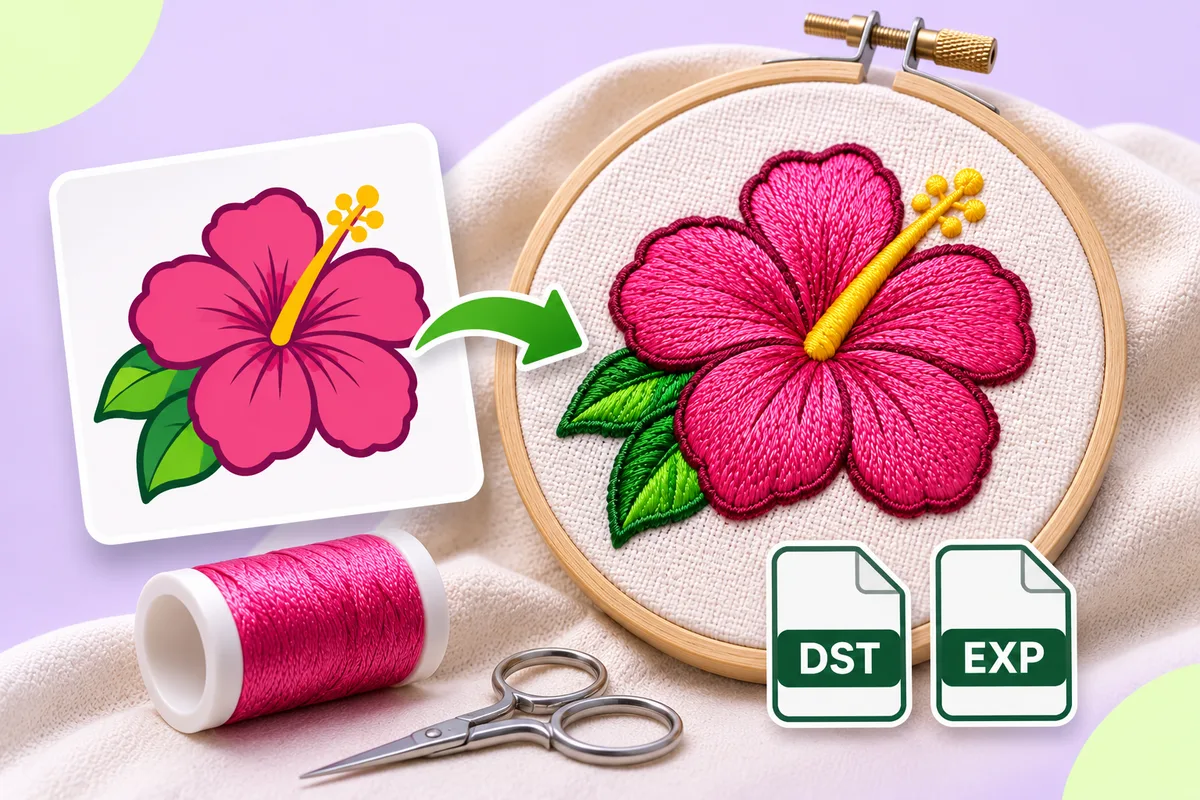
A logo on a screen and a logo stitched on a shirt are two very different things. On screen, the logo is a grid of coloured pixels or a set of smooth curves. On fabric, it is thread: thousands of short stitches laid down one after another by a needle that can only move in straight lines. Getting from one to the other is called digitizing, and the result is an embroidery file your machine can read.
This guide walks through the whole journey in plain terms, so you know what to expect and what to check along the way.
What an embroidery file actually is
An embroidery file is not a picture. It is a list of instructions for the machine: move the needle here, make a stitch, move there, make another, stop for a colour change, trim the thread, jump to the next shape. When the machine runs the file, it follows that list in order.
Because the file is a list of moves rather than an image, the machine does not "see" your logo. It only knows where to put the next stitch. Everything that makes the logo look right, such as which areas are filled, which edges are crisp and which colour comes first, has to be decided before the file is written.
That is why you cannot simply rename a PNG to a stitch file, and why a converter has to make real choices about every shape.
Step one: start from a clean logo
Digitizing is far easier on artwork that is already simple. A logo with a few flat colours, clear outlines and a plain background gives the stitch planner far less to guess about than a photo or a gradient.
If you have several versions of your logo, pick the cleanest one: the largest, sharpest file, ideally with a transparent or plain white background. Our guide on preparing a logo for embroidery goes into this step in more detail.
Step two: turn shapes into stitch areas
Next, the logo is split into areas of colour. Each area becomes a shape with an outline, and each shape will be sewn as one block of thread. Tiny specks and stray pixels are worth removing at this stage, because each one would otherwise become its own little patch of stitching.
You also decide which colours to keep. A logo that looks like it has three colours may contain dozens of slightly different shades along its edges. Grouping those into the colours you actually want is part of making a clean file.
Step three: choose a stitch type for each shape
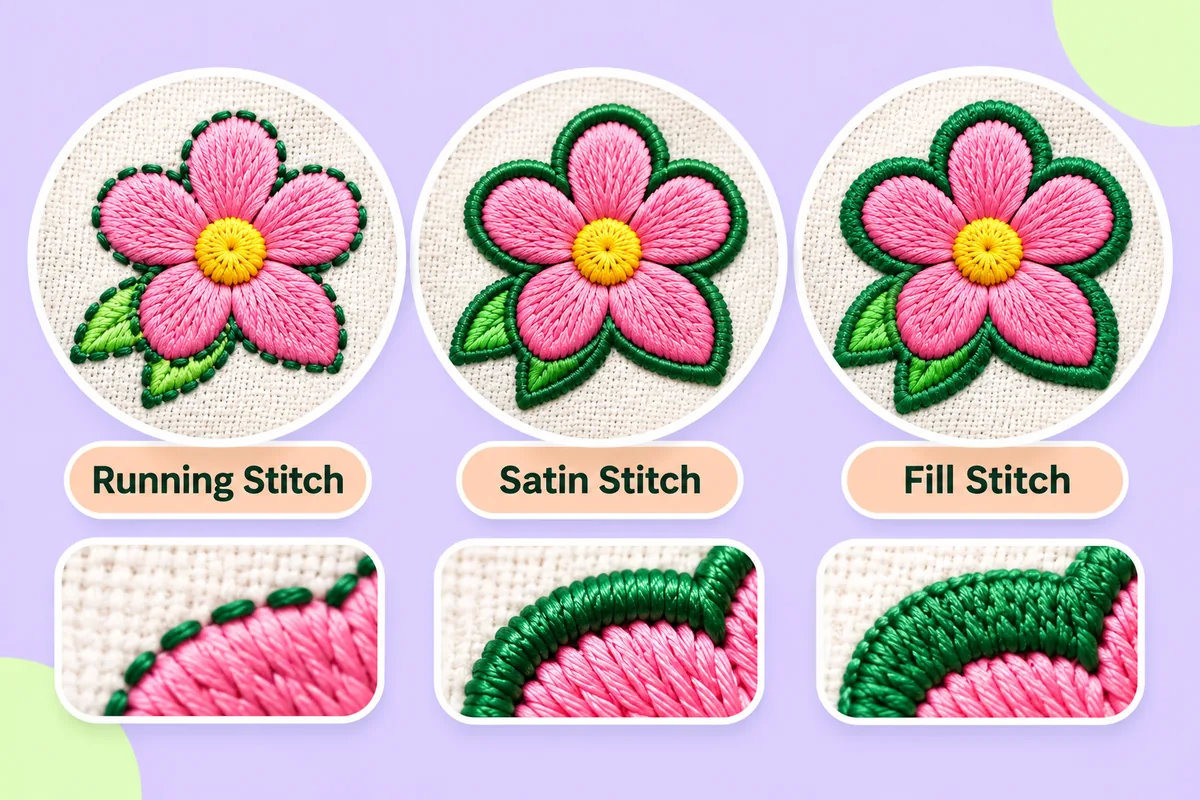
Embroidery uses a few basic stitch types, and choosing the right one for each shape matters more than almost anything else:
- Running stitch is a single line of stitches. It suits thin outlines and fine details.
- Satin stitch zigzags back and forth across a narrow shape, giving a smooth, shiny band. It suits lettering strokes, borders and other narrow parts.
- Fill stitch covers a wide area with rows of stitches. It suits large blocks of colour.
A good rule of thumb is that narrow parts become satin and wide parts become fill. Many shapes also get a layer of underlay stitches underneath, which helps the top stitches sit flat on the fabric.
Step four: plan the sewing order
The machine sews one shape at a time. The order matters: it decides how often the thread has to jump between shapes, how many colour changes there are, and which shapes overlap which. A sensible order sews each colour together and moves between nearby shapes, so there are fewer long jumps and trims.
Step five: set the size before you export
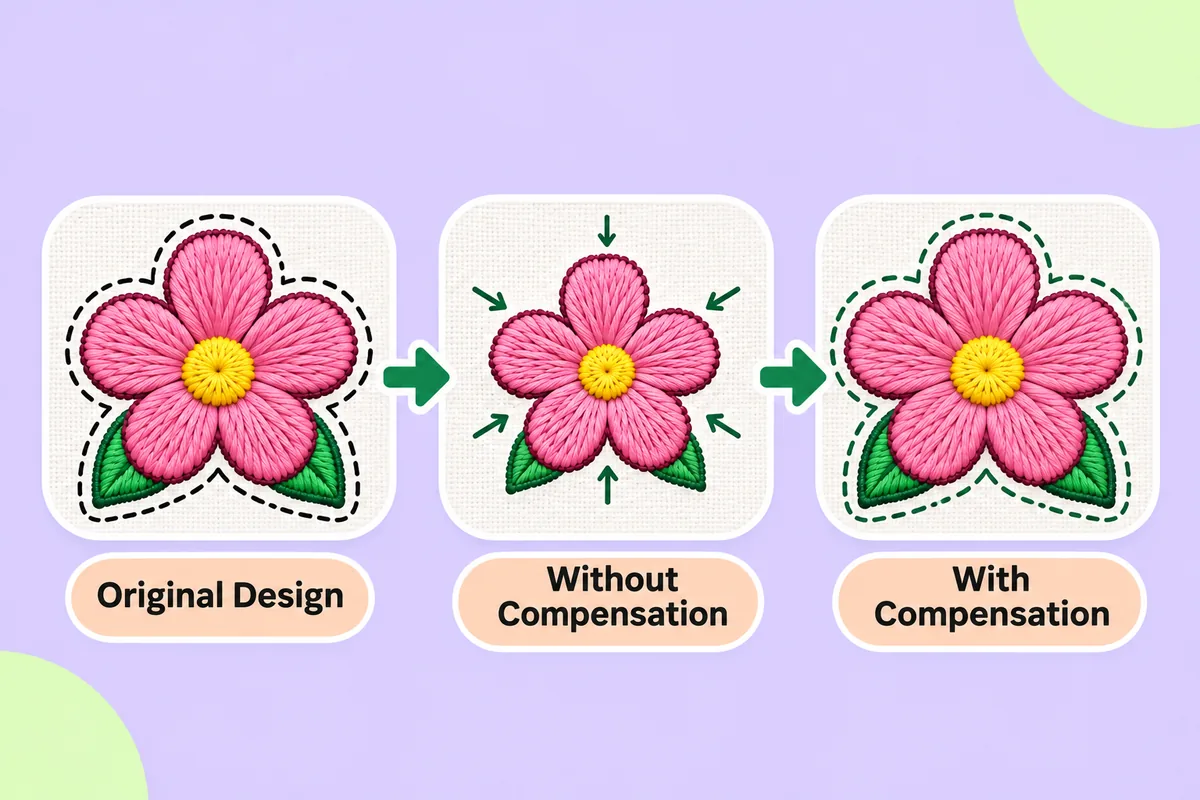
Embroidery is sized in real units, not pixels. Decide how wide the finished design should be on the fabric before you export, because a design that looks fine at one size can lose detail when made much smaller. Lettering is usually the first thing to suffer.
Step six: check the preview, then test-sew
Before you put the file on a real garment, look at every stitch in a preview. Watch for shapes with the wrong stitch type, gaps between colours, and very small details that may not hold up in thread.
Then sew a test on scrap fabric that is similar to the final material. Automatic results are a starting point, and a test run is the only reliable way to see how the design behaves on your machine, your fabric and your thread. If something looks off, adjust it and test again.
Doing it on this site
The app here follows the same steps. You upload a PNG or JPG, and an image check points out anything that may cause trouble, such as low contrast or stray specks. The colours are found for you, and you choose which to keep. Each shape is given a stitch type automatically, and the sewing order is planned.
You can then open the editor to change any shape between running, satin and fill, split a satin shape, or draw a satin column between two edges. The preview shows every stitch, and you can play back the sewing order before exporting a DST file.
Automatic stitches will not suit every logo straight away, so plan to look over the result and test-sew before a real run.
- What happens to your image along the way: PNG to DST
- Try it with your own logo: Upload a logo
- Plans and what an export costs: Pricing