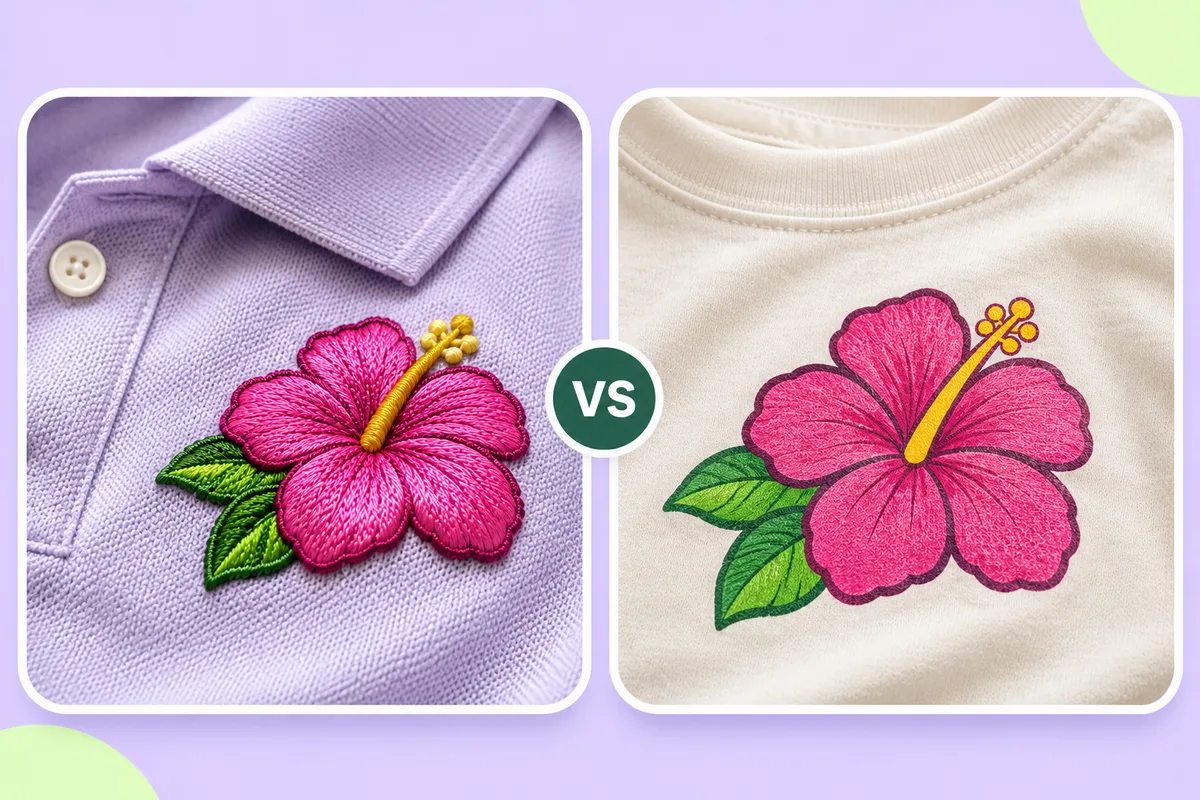
Convert a picture to an embroidery file
Pick a clear picture with flat colours, clean it up, decide the size and fabric, then convert it to a stitch file such as DST or EXP. Check the preview, adjust what looks wrong, and sew a sample before the real run.
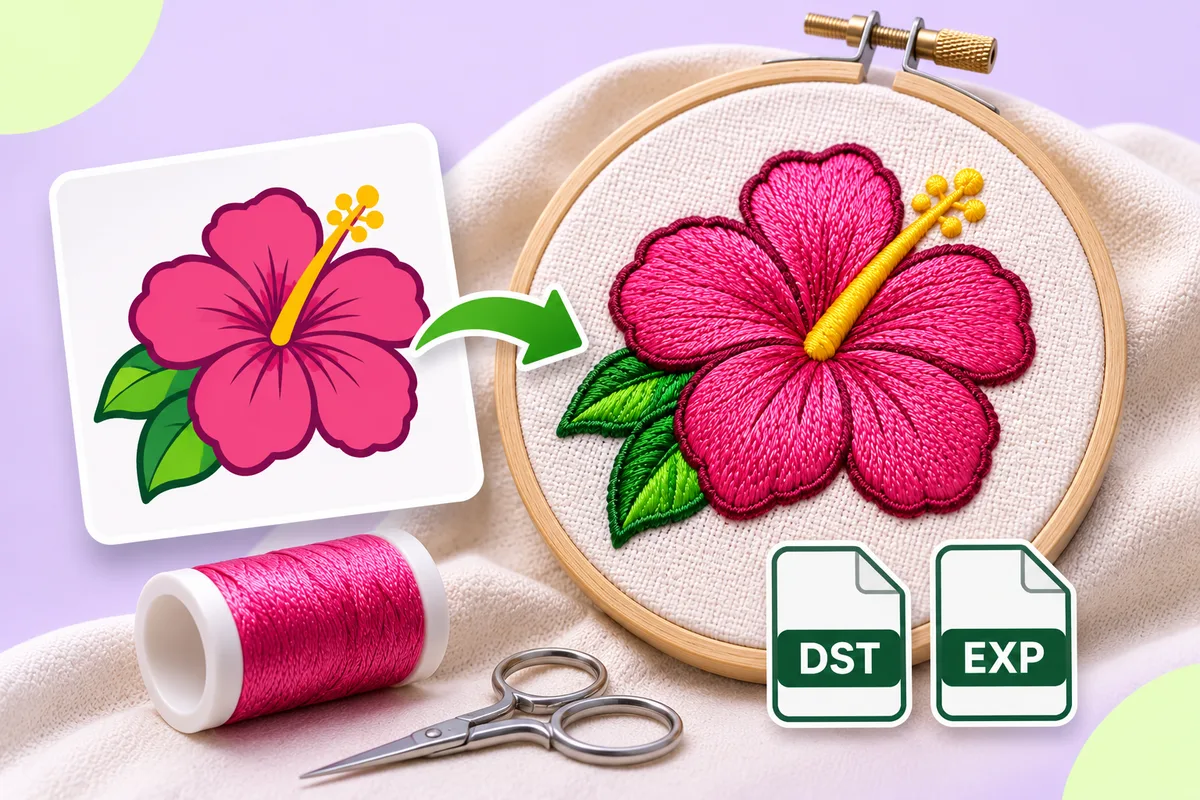
Many people start with a photo and want to create a design that a sewing machine can reproduce. The process is simple, but the quality of the result depends heavily on the original photo and the checks carried out throughout the process.
What you are actually making
An embroidery file is a set of stitch instructions, not an image. Converting an image means that software analyzes the shapes and colors, selects the stitch types, and creates a file such as DST or EXP. For background, see Logo to embroidery file and What is an EXP file?.
Step 1: Pick the right picture
Not every picture converts well.
- Good: logos, icons, simple lettering and bold shapes with flat colours.
- Difficult: photographs, gradients, shadows and fine detail.
If you can, use a large, sharp image with a clean or transparent background. See PNG to DST for what to look for.
Step 2: Clean up the artwork
A few minutes here saves problems later.
- Remove backgrounds, glows and shadows.
- Replace gradients with a few flat colours.
- Thicken hairline strokes.
- Enlarge or delete tiny details and small text.
For guidance, see Gradients and photos in embroidery and Thin lines and outlines in logos.
Step 3: Decide the size and fabric
Know roughly how large the design will be and what it will be sewn on. Small sizes limit detail, and stretchy or textured fabrics need simpler designs. See Embroidery on stretchy fabrics.
Step 4: Convert
Upload the picture to a converter, choose DST or EXP to match your machine, and let it generate the stitches. If you are not sure which format your machine reads, check its manual or ask the supplier.
Step 5: Check the preview
Before downloading, review the preview carefully:
- Is the shape right and complete?
- Are the colours what you expect, and not too many?
- Is text readable?
- Have thin lines survived?
A full checklist is in Prepare a logo for embroidery.
Step 6: Adjust and repeat
If something looks wrong, fix the source picture and convert again. That is usually simpler than editing stitches. Common fixes are enlarging details, merging shapes and reducing colours. See Embroidery logo colours: how many?.
Step 7: Sew a sample
A preview cannot show how fabric and thread behave. Sew a small sample on the same type of fabric, with the right stabilizer, and look at edges, text and how stiff it feels.
Automatic results can need editing, so always test-sew on a scrap of similar fabric before a real run.
Common mistakes
- Starting with a small, blurry image
- Leaving gradients and shadows in
- Using tiny text
- Skipping the sample
- Choosing a format the machine cannot read
When to ask for help
If your design is detailed or the sample keeps failing, consider a professional. See DIY vs paid digitizing.
What a good result looks like
When the conversion has been successful, the preview will display the same shapes as your original image, a limited number of distinct colors, legible text, and precise outlines. Large areas will be filled uniformly, narrow shapes will appear as continuous lines, and there will be no stray dots where the original background used to be.
If you notice any stray dots, extra shades, or irregular outlines, the cause usually lies with the source image rather than the converter. Return to the cleanup step and address the issue there.
Keeping your files organised
Once you have a version that yields a good embroidery result, keep three items together: the optimized graphic file, the embroidery file, and a note specifying the fabric, thread, and settings used. This way, if you need the logo again, you won’t have to start from scratch; and if you switch to a different textile substrate, you will know exactly what you used as a starting point.
Where to start
Upload your cleaned-up picture to the converter on this site at /upload, pick DST or EXP, and check the preview before you download.
Frequently asked questions
Can I convert a JPG or PNG to an embroidery file?
Yes. Both work, though clean edges and flat colours give better results.
Which format should I choose?
Choose the one your machine reads. This site produces DST and EXP.
Why does my converted file look poor?
Usually the source picture has gradients, blur or tiny details. Clean it up and convert again.
Do I need to sew a sample?
Yes. The preview cannot show how fabric and thread behave.