PNG to DST: what happens to your image
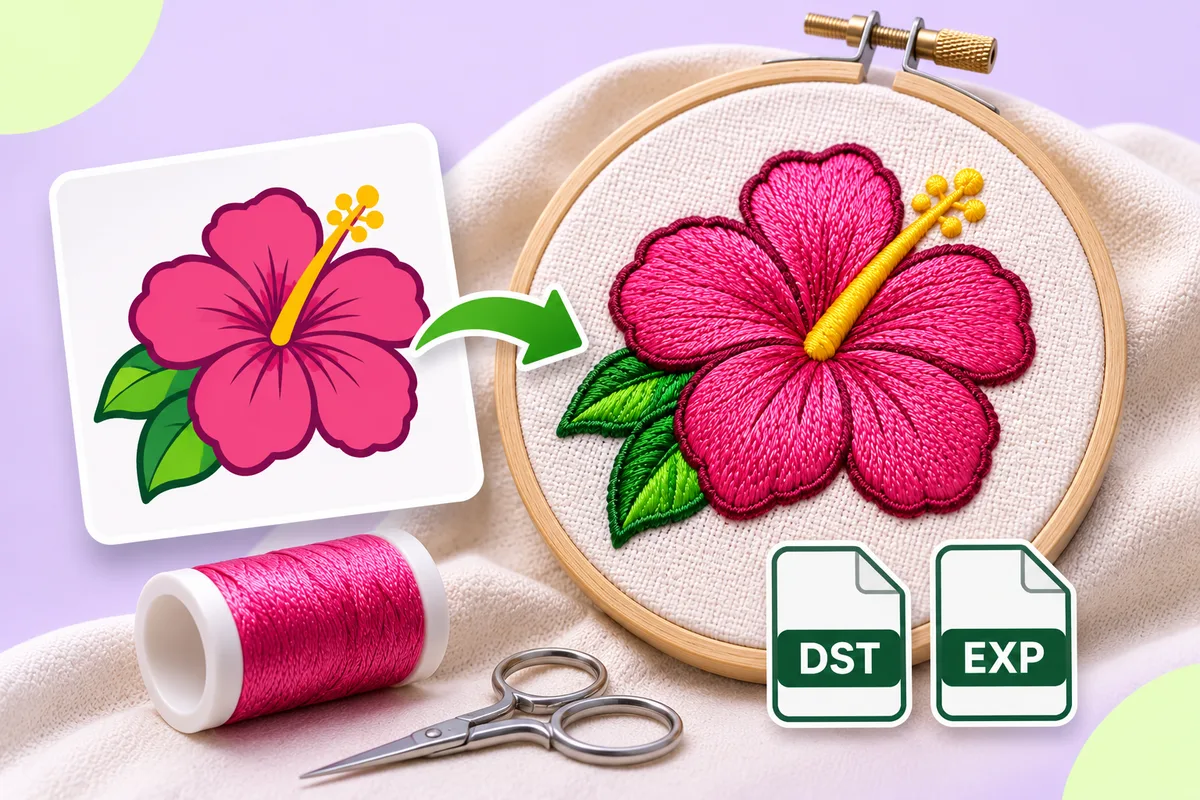
A PNG is not converted like an image file: it is checked, its colours found, its shapes traced, a stitch type chosen for each shape and a sewing order planned before the needle moves are written as DST. Gradients and fine detail do not survive.

If you have ever searched for a way to turn a PNG into a DST file, you may have noticed that it is not like converting a PNG into a JPG. Both PNG and JPG describe an image. A DST file describes something else entirely: the path a needle takes. This post explains what happens between the two, one step at a time, using the app on this site as the example.
What a PNG holds, and what a DST holds
A PNG or JPG is a grid of pixels. Each pixel has a colour, and that is all. There is no idea of "this is the letter A" or "this is the outline of the logo". Your eye groups the pixels into shapes; the file does not.
A DST file is a list of needle movements. Each entry says how far the needle moves from where it is now, and whether that move is a stitch, a jump without sewing, or a stop. It holds no pixels at all, and it does not store which thread colours to use. A colour change is simply a stop in the sequence; the person at the machine decides which thread to load.
So the job is to turn a grid of colours into a sensible list of needle moves. That takes several steps.
Step one: the image check
Before anything is stitched, the image is checked. The things that cause trouble later are easy to spot early:
- An image that is too small has too few pixels to trace clean outlines.
- Low contrast between the logo and its background makes the edges hard to find.
- A blurry image gives soft, uncertain edges.
- Lots of tiny specks, often from compression or scanning, would each turn into a small patch of stitches.
When the check finds one of these, it says what to fix. Fixing it in the source image is almost always easier than fixing the stitches afterwards.
Step two: finding the colours
Next, the colours in the logo are found. Even a logo that looks like it has two colours usually has many in-between shades along its edges, where the image software smoothed the curves. Those blended pixels are grouped with the nearest main colour, so you end up with a short list of real colours.
You then choose which colours to keep. The background is normally left out, because the fabric itself shows there. Each colour you keep becomes one thread in the finished file, with a colour change between them.
Step three: tracing the shapes
Each colour is then traced into shapes with clean outlines. This is where small specks are dropped and ragged edges are smoothed into lines the needle can follow. A letter becomes a shape; a ring becomes a shape with a hole in it.
Step four: choosing a stitch type for each shape
Every traced shape needs a stitch type. Narrow shapes, such as letter strokes and thin borders, usually suit satin stitch, which zigzags across the shape. Wide shapes usually suit fill stitch, which covers the area in rows. Very thin lines can be sewn as a running stitch.
The app makes this choice for each shape automatically, and adds underlay where it helps the top stitches lie flat. The choice is a starting point. In the editor you can switch any shape between running, satin and fill, split a satin shape, or draw a satin column between two edges.
Step five: planning the sewing order
The shapes are then put in an order. Shapes of the same colour are sewn together, and the path between them is planned so the needle does not cross the whole design more often than it needs to. Where a move is long, the thread is trimmed rather than dragged across the fabric.
Step six: writing the DST file
Finally, every stitch, jump, trim and colour change is written into the DST format.
A format is only offered at all after a check: a sample design is written in that format, read back, and compared with the original: the needle positions and the sequence of stitches, jumps, trims and colour changes must match. DST passes that check and is the format offered today. Other formats are added only once they pass it too.
What does not survive the trip
Some things in an image simply have no equivalent in thread:
- Gradients and soft shadows. Thread is one solid colour at a time. Smooth shading is reduced to flat areas.
- Very fine detail. Hairlines and tiny dots may be too small for the needle to form cleanly at the size you choose.
- Photos. A photo has no clear shapes to trace, so it does not convert into a tidy logo-style design.
- Thread colours. As mentioned above, a DST file does not record which colours to use. Keep a note of your colours alongside the file.
If your logo relies on any of these, simplify it first. Our guide on preparing a logo for embroidery has practical tips.
Before you sew
Look over every stitch in the preview and play the sewing order through. Automatic results can need editing, especially around small lettering and where colours meet. Then sew a test on scrap fabric similar to your final material, and adjust if needed before a real run.
- How the whole process fits together: How to turn a logo into an embroidery file
- The short version, with the steps and common questions: PNG to DST
- Try it with your own image: Upload a logo