Stitch count and density explained
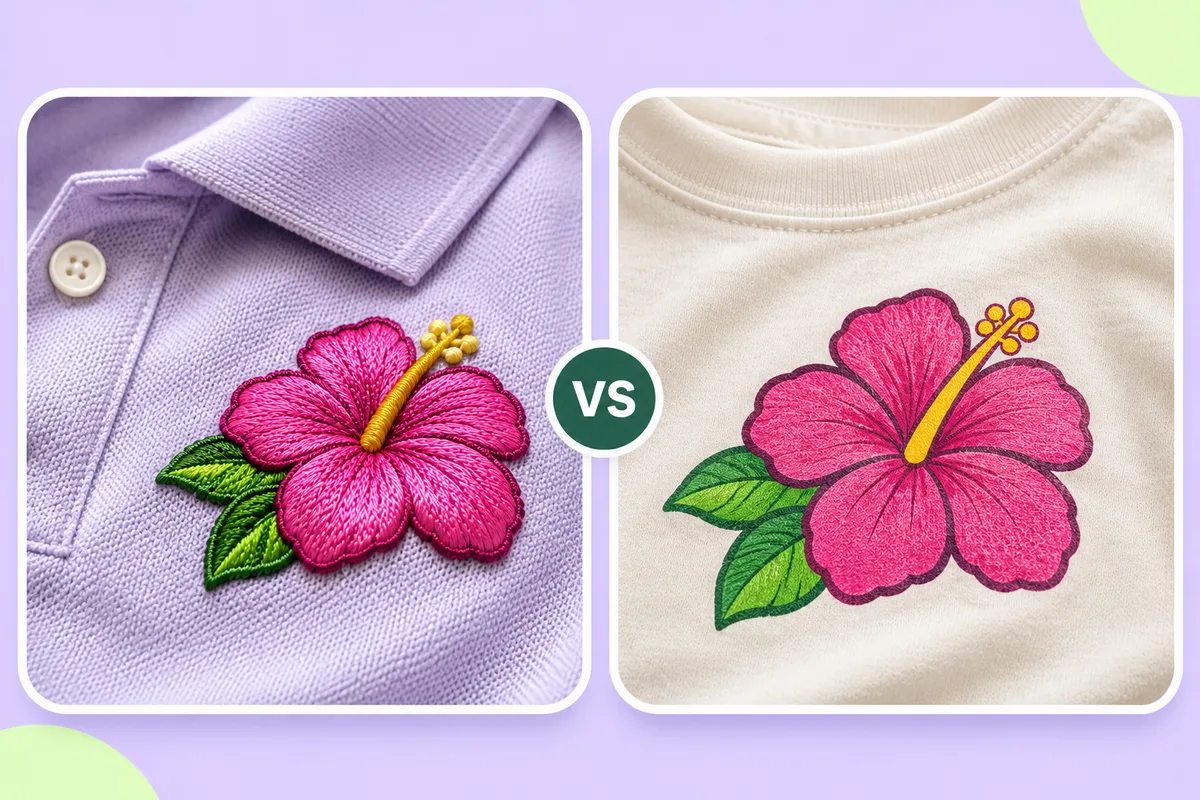
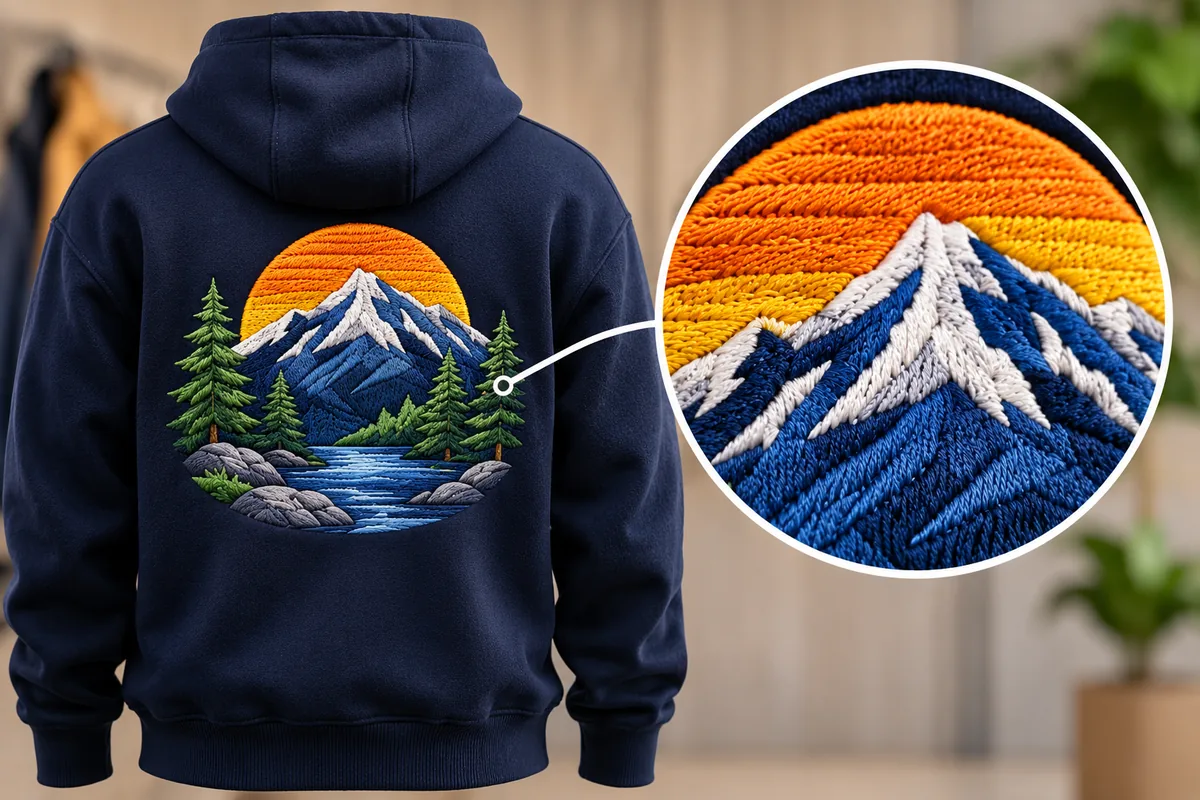
Stitch count is how many stitches a design has, and it mostly sets the price. Density is how closely the stitches are packed, and it sets the look and feel: too dense is stiff and can pucker, too light lets the fabric show through.
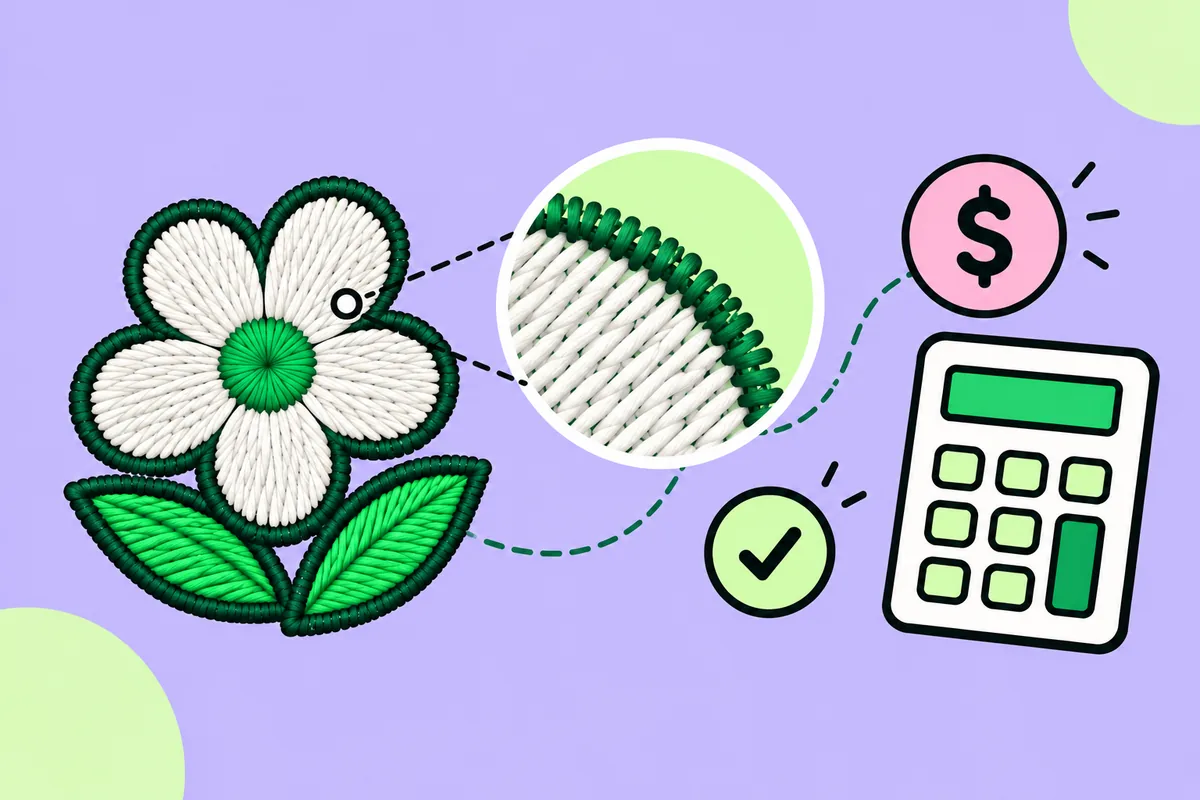
Two parameters largely determine the characteristics of an embroidered logo: stitch count and stitch density. The former primarily influences the price, while the latter largely dictates the visual appearance and tactile feel. Mastering these two concepts will help you better interpret a quote, identify designs that would yield poor results when embroidered, and avoid paying for unnecessary stitches.
What is stitch count?
The stitch count simply refers to the total number of stitches in a design. Each time the needle passes through the fabric, it counts as one stitch. This number determines three things: the amount of thread used, the length of time the machine runs, and, for many workshops, the price you are charged.
What is stitch density?
Density refers to how closely stitches are packed together; it is generally defined by the spacing between rows of stitches. Fill rows are usually spaced a fraction of a millimetre apart, and closer spacing results in a higher number of stitches within a given area.
Stitch count and density are related, but they are not the same thing. A large design with wide spacing may have a high stitch count while remaining somewhat flexible. Conversely, a small design with very tightly packed stitches may have a modest stitch count yet feel rigid to the touch.
How stitch count affects price
Many embroidery companies set their rates based on the stitch count, typically using a price per 1,000 stitches. The calculation is straightforward: the total number of stitches is divided by 1,000 and then multiplied by the applicable rate. These rates vary significantly, ranging from approximately $1 to $2 per 1,000 stitches at some shops to $3 or more at others, often with a minimum charge applied per placement. Many shops also charge a digitizing fee (for creating the embroidery program); this is a one-time fee per design, rather than a charge per item. To learn more, see how much logo digitizing costs.
Two cautions:
- Stitch count is only one part of the price. Garment type, placement, quantity and digitizing all matter, and some providers use flat per-item prices instead.
- You only know the real count after the design is digitized, so early quotes are estimates.
Typical stitch counts
- Small design: about 5,000 stitches.
- Chest logo: about 7,500 stitches.
- Large or detailed design: about 25,000 stitches.
These are rough figures from one shop's published guide. Your own count depends on the artwork.
Moving the same design from the left chest to the back of a jacket can lead to a significant increase in the stitch count, production time, and digitizing requirements. For left-chest applications, one workshop found that logos exceeding approximately 4 inches (about 10 cm) in width or height were too large.
How density affects quality
- Too dense: the fabric puckers, the design becomes rigid, and the risk of thread breakage increases. The thread must be able to fit between the fabric fibers; an excessive amount will push them apart. See our guide on puckering and thread breaks.
- Too sparse: the fabric shows through the fill, giving the design a thin or uneven appearance.
- Ideal density: uniform coverage, a supple texture, and crisp outlines.
The appropriate density depends on the fabric, the thread weight, and the stabilizer used. Most designs are digitized for 40-weight thread. A thicker thread displaces more of the fabric fibers. Significantly changing the size of a design also necessitates an adjustment to the required density.
How to keep stitch count and cost down without hurting quality
- Simplify the visual. Use solid blocks of color and clean, simple shapes; avoid gradients.
- Remove unnecessary details. Tiny text and very fine lines result in superfluous embroidery stitches and are rarely legible. Refer to the guidelines on minimum text size in embroidery.
- Reduce the number of colors. Fewer thread changes mean a shorter production time.
- Adjust the size. Do not exceed the dimensions required for the intended placement.
- Remove the background. Unwanted background elements add unnecessary embroidery stitches.
Check the stitches before you commit
Since the stitch count and density are only truly known after conversion, it is wise to verify the result before exporting. The converter on this site allows you to import a logo in PNG or JPG format and preview every individual stitch before exporting your file. Use this preview to identify areas that are too dense, tiny details that increase the stitch count without adding any visual value, and elements that might end up looking overly heavy. Automatic results can need editing, so test-sew before a full run.
Not sure which file your machine needs? Read DST, PES, EXP or JEF: which file?
FAQ
How many stitches is a typical left-chest logo?
Roughly 5,000 to 8,000 for a simple design. One shop's published guide lists about 5,000 for small designs, 7,500 for chest designs and 25,000 for large, detailed ones.
How much does embroidery cost per 1,000 stitches?
Published rates vary widely, from about $1 to $2 at some shops to $3 or more at others, usually with a per-placement minimum. Many shops add a one-time digitizing fee.
What is stitch density?
Density is how closely stitches are packed. Too high and the fabric puckers and thread breaks; too low and fabric shows through.
Does a higher stitch count always mean a higher price?
Not always. Some providers use flat per-item prices, and garment type, placement and quantity also affect the total.