Large back logos on jackets and hoodies
A large back design holds far more stitches, so it can feel stiff, pucker and pull the fabric. Keep density under control, use a firm stabilizer and careful hooping, avoid seams and zips, and test before committing to a run.
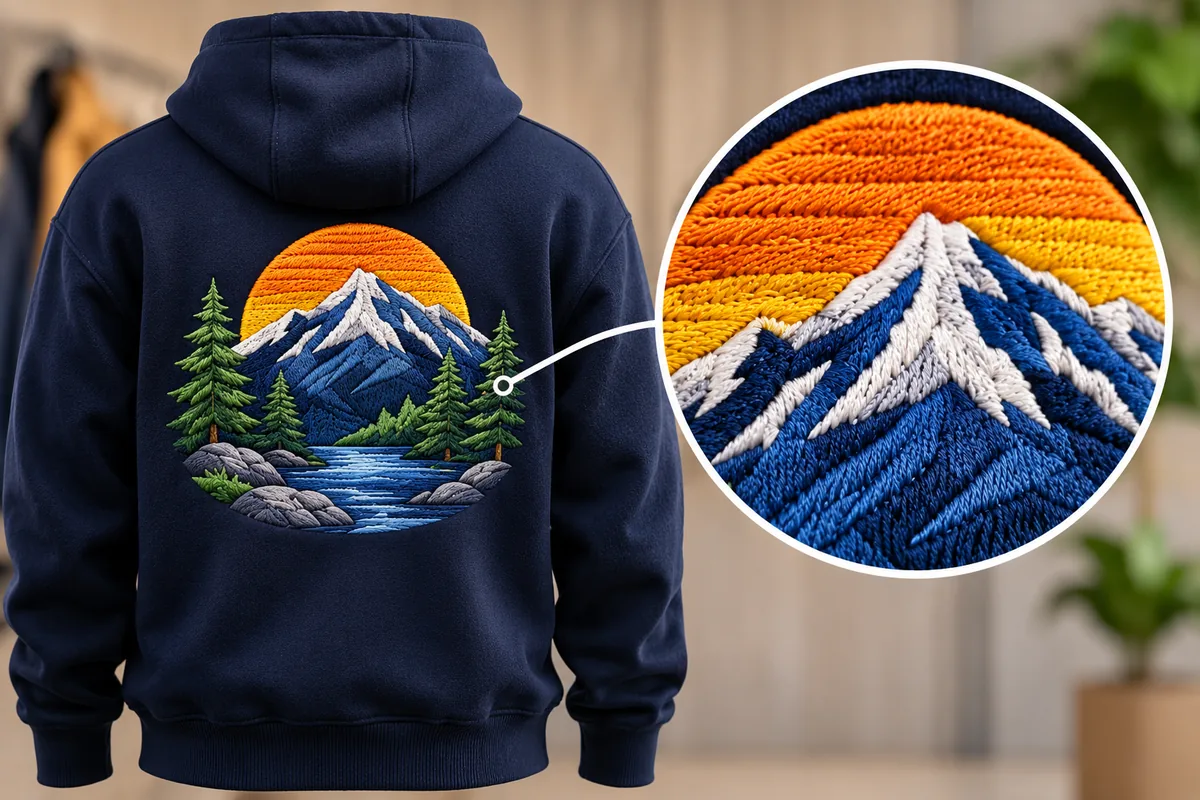
A small design on the chest and a large design on the back require different approaches, even if the latter is simply an enlarged version of the same visual. Changing the size alters how the thread, fabric, and stabilizer interact. If you are planning a large design for a jacket or a hoodie, here are the key points to consider.
Why large designs are different
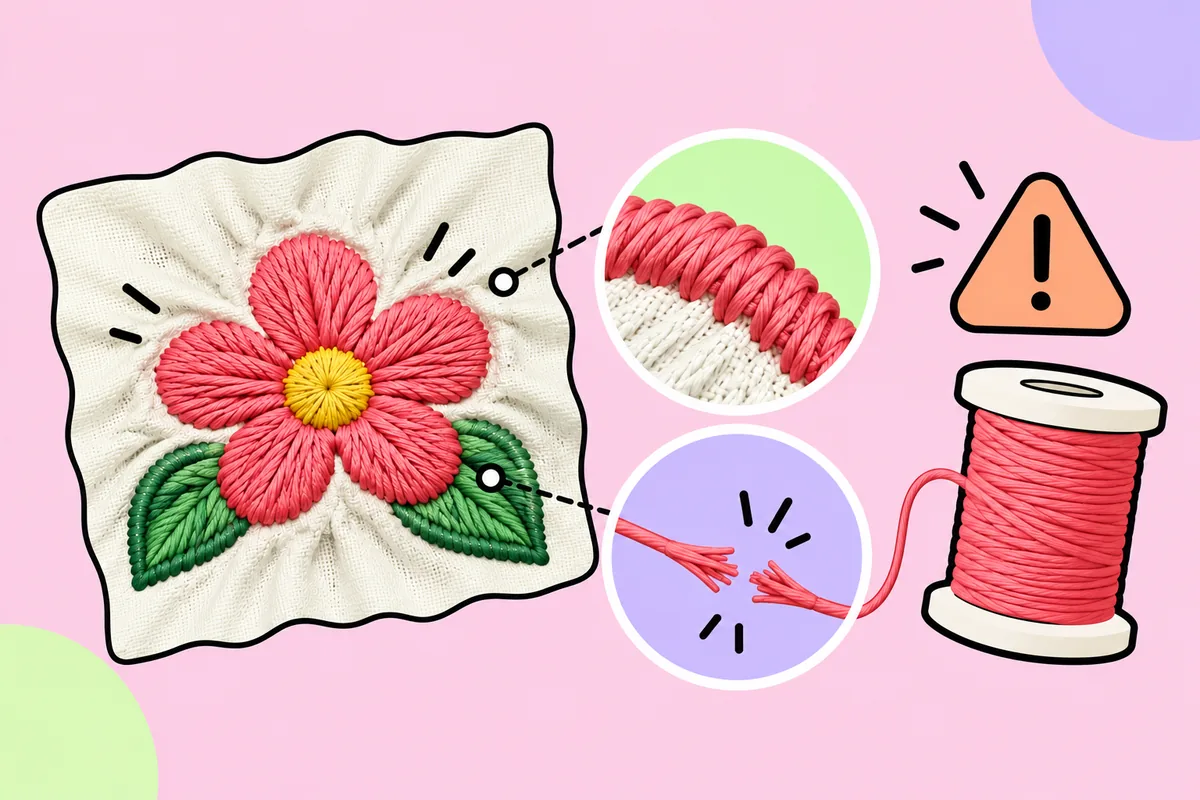
A higher number of stitches results in greater overall tension on the fabric. Slight distortions that might go unnoticed in a logo placed on the chest can accumulate, creating visible ripples on the back panel. Large designs also require significantly more sewing time, increasing the risk of misalignment, thread exhaustion, or thread breakage.
Such designs also affect the comfort and drape of the garment: a large, dense design will make the jacket stiff and heavy in the area where it is applied.
Keep density under control
Weight is the biggest issue. Avoid filling the whole area with solid stitches.
- Use open areas. Let the fabric show through in parts of the design.
- Break large fills into smaller sections or use lighter patterns.
- Choose satin carefully. Very wide satin areas can look loose, as explained in Satin stitch vs fill stitch.
- Keep underlay sensible. Heavy underlay under a large design adds a lot of bulk. See Underlay stitches explained.
A lighter design usually takes less sewing time, hangs better and feels more comfortable.
Hooping and stabilizer
Big designs need big hoops, and a big hoop means more loose fabric.
- Use firm stabilizer, and cut-away is usually the safe choice for large work.
- Keep fabric flat and not stretched.
- Support the weight of the garment so it does not drag on the hoop while sewing.
- Check that the design fits the hoop with room to spare.
Hoodies and jackets are thick and awkward, so take care that other parts of the garment are not caught under the hoop. Heavy or stretchy materials need extra care. See Embroidery on stretchy fabrics.
Beware of seams and zips
Back panels sometimes have seams or hood bulk nearby. Stitching across a thick seam can break needles and distort the design. Plan the design area to avoid seams where you can, and check the garment before hooping.
Placement
Back designs look better when they are centred and level.
- Mark the centre line of the garment, not just the hoop.
- Allow for the collar and the hood. A design too high can disappear under a collar.
- Think about how the garment sits when worn, not only when laid flat.
- Use a consistent position if you are making several pieces.
For small logo placement, see Left chest logo size and placement. For caps, where placement is completely different, see Cap vs flat embroidery for logos.
Colours and time
More colours means more stops, and on a big design each stop adds to total time. Keep the palette tight. Embroidery logo colours: how many? explains the effect on time and cost. Cost for large designs also rises with stitch volume, which is covered in How much does logo digitizing cost?.
Text in large designs
Large lettering is easier to sew well than small lettering, but wide letters still need correct stitch types and spacing. Check the preview closely, and see Minimum text size in embroidery for how lettering behaves.
Test before committing
A full back design on a real jacket is an expensive test. Instead:
- Sew a reduced-size version on similar fabric.
- Check density, stiffness and puckering.
- Adjust the file.
- Sew the full design on a spare garment if you can.
Automatic results can need editing, so always test-sew on a scrap of similar fabric before a real run.
Where to start
Upload your artwork to the converter on this site, then look for dense solid areas in the preview. Lighten those, then sew a sample before the real garment.
FAQ
Why is a large back design harder to embroider?
More stitches mean more total pull, longer sewing time and more weight, so small problems add up.
How do I stop a big design feeling stiff?
Use open areas, avoid heavy solid fills and keep underlay sensible.
What stabilizer suits large designs?
Cut-away is usually the safe choice for large work, hooped flat without stretching.
How do I place a back logo correctly?
Mark the garment's centre line, allow for the collar and hood, and check how it sits when worn.